كيفية توصيل ضاغط هواء الأسنان وكرسي الأسنان: دليل شامل
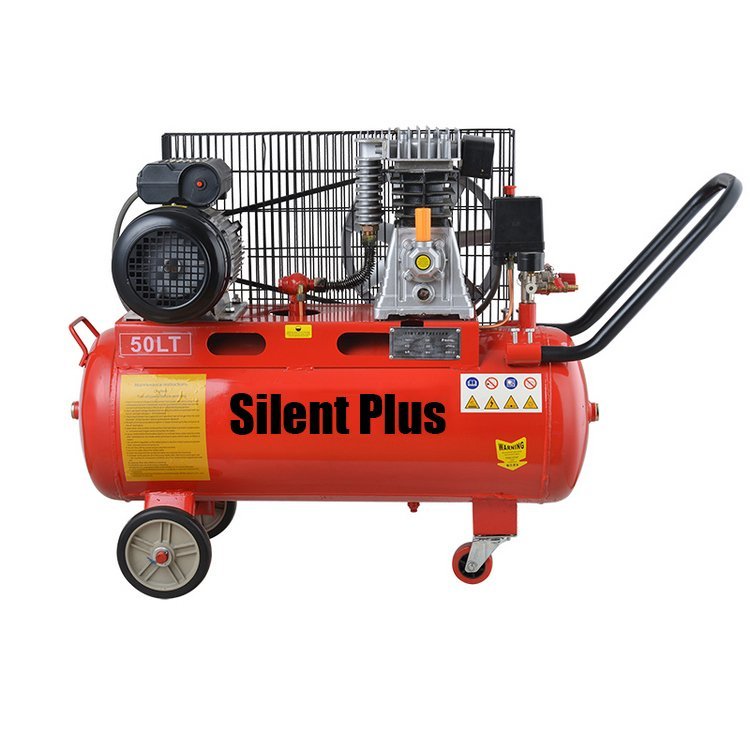
ربط الخاص بك ضاغط هواء للأسنان to your dental chair is an essential part of setting up your dental practice. Proper connection ensures that compressed air gets to your dental handpieces, air syringes, and curing lights. In this comprehensive guide, we'll take you through the steps and highlight important considerations when connecting your dental air compressor and dental chair.
الخطوة الأولى: فهم وصلات ضاغط الهواء
- Locate the air compressor connections on the back or bottom of the unit. Most dental air compressors have two connections labeled "Air Out" and "Air Exhaust."
- Identify the "Air Out" connection where you will connect the air line from your dental chair.
- Identify the "Air Exhaust" connection where excess pressure is released.
الخطوة 2: حدد موقع وصلات كرسي الأسنان
- Refer to the manufacturer's manual or diagram to locate the connections on your dental chair. The typical connections are "Air In," "Water In," and "Water Out."
- Identify the "Air In" connection where you will connect the air line from your dental air compressor.
الخطوة 3: قم بتوصيل خط الهواء الخاص بك
- Use a high-quality air hose to make the connection between the "Air Out" connection of your dental air compressor and the "Air In" connection on your dental chair.
- قم بتأمين التوصيل بإحكام باستخدام التركيبات المناسبة.
- تأكد من أن خرطوم الهواء غير ملتوي أو ملتوي.
الخطوة 4: توصيل خطوط المياه (إن أمكن)
- إذا كان كرسي الأسنان الخاص بك يحتوي على خطوط مائية ، فقم بتوصيلها أيضًا.
- قم بتوصيل خطوط مدخل ومخرج المياه من كرسي الأسنان الخاص بك بخطوط إمداد المياه المقابلة.
- استخدم شريط Teflon أو مادة مانعة للتسرب للتأكد من إحكام التوصيلات.
الخطوة الخامسة: ضبط ضغط الهواء
- حدد موقع منظم الضغط على ضاغط الهواء الخاص بأسنانك.
- أدر المنظم عكس اتجاه عقارب الساعة لتقليل الضغط أو في اتجاه عقارب الساعة لزيادة الضغط.
- Refer to the manufacturer's manual or contact the equipment manufacturer to determine the recommended air pressure for each piece of equipment you will be using.
- Set the air pressure according to the manufacturer's specifications.
يمكن أن يختلف ضغط الهواء الموصى به لمعدات طب الأسنان اعتمادًا على الشركة المصنعة وطراز الجهاز. وفيما يلي بعض الإرشادات العامة:
- تتطلب المقابض عالية السرعة عادة ما بين 35 إلى 60 رطل / بوصة مربعة من ضغط الهواء.
- تتطلب المقابض منخفضة السرعة ما بين 15 إلى 25 رطل / بوصة مربعة.
- تتطلب مصابيح المعالجة عادةً 40 إلى 50 رطلًا لكل بوصة مربعة من ضغط الهواء.
تحقق دائمًا من التوصيات المحددة لكل قطعة من المعدات التي ستستخدمها للتأكد من ضبط ضغط الهواء الصحيح.
الخطوة السادسة: اختبر أجهزتك
- قم بتشغيل ضاغط الهواء للأسنان.
- تأكد من أن الهواء المضغوط يتدفق عبر كرسي الأسنان والقبضات اليدوية عن طريق تنشيطها.
- Test each piece of equipment to ensure that it's working correctly.
اعتبارات مهمة
- Always follow the manufacturer's instructions when installing or connecting any dental equipment.
- افحص ضاغط الهواء وكرسي الأسنان بانتظام بحثًا عن التسريبات أو التركيبات السائبة أو أي تلف آخر.
- استخدم فقط خراطيم الهواء عالية الجودة والتركيبات المناسبة.
- لا تتجاوز أبدًا حدود ضغط الهواء الموصى بها لمعدات طب الأسنان الخاصة بك.
- ارتدِ معدات واقية مثل النظارات الواقية والقفازات عند العمل بالهواء المضغوط.
خاتمة
Connecting your dental air compressor and dental chair is a critical step in setting up your dental practice. Ensure that all connections are tight and secure, always follow the manufacturer's instructions, and take necessary precautions when working with compressed air. By following these steps and considerations, you can maintain your equipment properly and provide excellent care to your patients.


